
Turn Figma screenshot into React
Figma captures often hide spacing system assumptions and state flow. The goal is to convert visual intent into componentized React behavior with explicit constraints.
Proof-first funnel
Proof signals for higher-confidence decisions
Use these checkpoints before committing spend.
Before / After
Before/after workflow
Capture the goal, generate, review, iterate, and verify before export.
- Plan and cost expectations before build
- Review checkpoints before each restore
- Export only after the acceptance script passes
Restore + Export
Reversible edits and handoff
Keep checkpoints, require scoped rollbacks, and export with manifest, quality report, and deployment instructions.
- One restore creates one explicit new checkpoint
- Restore history stays visible for auditability
- Export includes manifest, report, and deployment files
Spend + Artifacts
Cost clarity and output traceability
Confirm expected credits before run, compare with actual usage, and review exported files before shipping.
- Expected usage shown before generation
- Actual usage and refunds after completion
- Post-build artifacts checked in a clean environment
The short answer
Use a structured extraction pass and verification routine so your Figma-to-code result survives edits and exports cleanly.
Extract design intent before generation
List typography, spacing, component hierarchy, action intent, and data containers from the screenshot before opening the generation call.
Define component families
Require reusable card, panel, button, and table families. This avoids one giant component and improves maintainability.
Preserve semantic and interaction intent
Map each control to explicit roles, labels, and interaction states from the reference and expected behavior.
Model token boundaries with strict tasks
Generate the core structure, then add micro-interactions in bounded passes. This increases consistency and reduces accidental rewrites.
Verify as if no Figma file exists
After generation, validate accessibility, responsive behavior, and local build as production checkpoints.
Real generated example
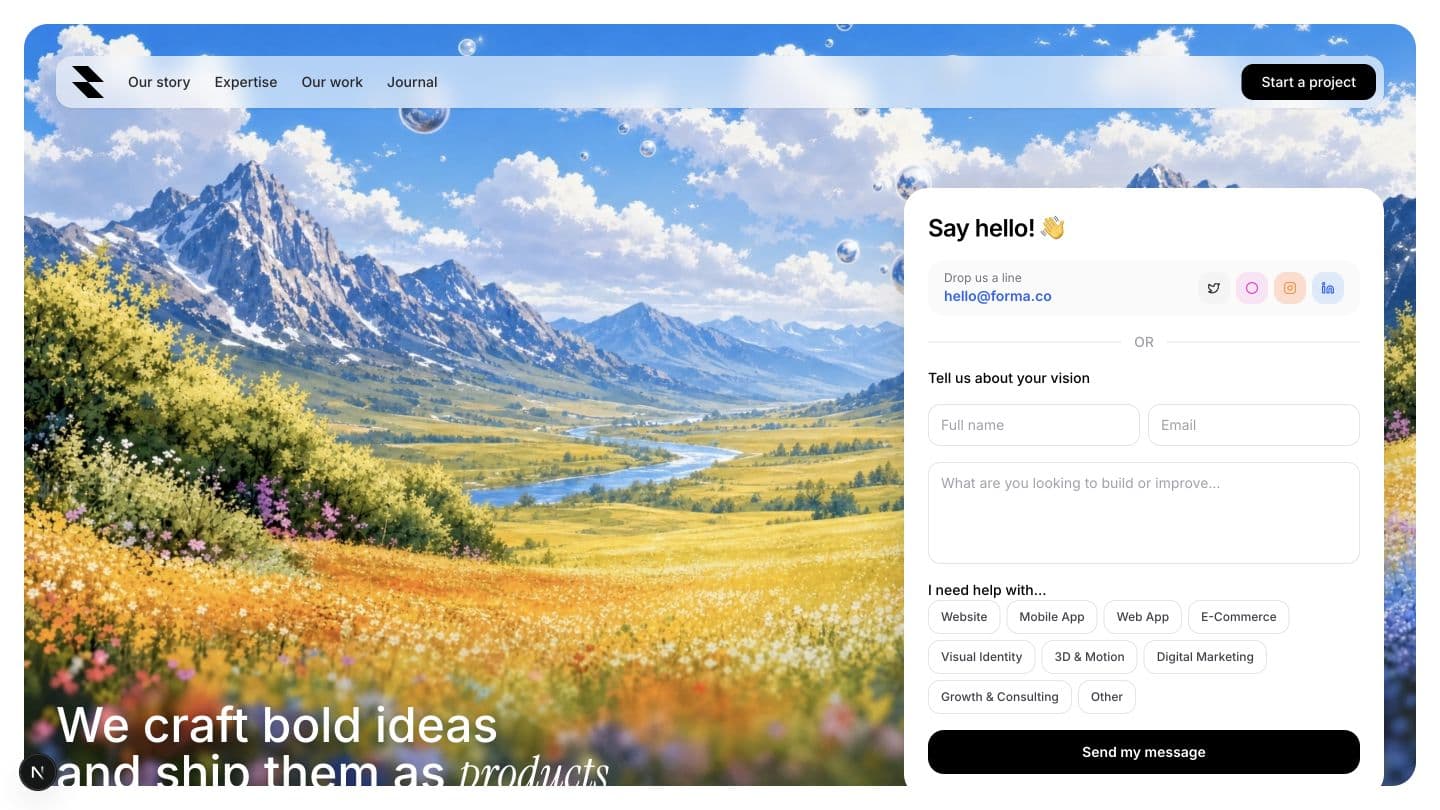
Real example: Figma visual to responsive dashboard page
Use this concrete example as a starting point, not a final template.
Prompt used
Use the provided Figma screenshot to generate a responsive React page with component families for header, feature cards, pricing table, and stateful detail panel. Include keyboard-friendly buttons and accessible form patterns.
Generated file inventory
- •src/App.tsx
- •src/components/FigmaHeader.tsx
- •src/components/FeatureCard.tsx
- •src/components/PricingGrid.tsx
- •src/components/DetailPanel.tsx
- •src/styles/tokens.css
FAQ
Frequently asked questions
Direct answers to the questions buyers and builders ask before committing a project to an AI app builder.
Does a screenshot include all design constraints?
No. Add spacing scale, copy hierarchy, and interaction behavior that are not always visible.
Should I include all states in the first prompt?
Include primary action states first, then add optional micro-states in bounded follow-ups.
How do I prevent giant components?
Declare explicit reusable component families and file-level ownership in your prompt.
What is the clean output proof?
Local install, build, and interaction test on multiple widths with diff stability.
Keep researching
Related guides and comparisons
Build an app you can inspect, restore, and keep.
Define your acceptance criteria, confirm expected credits, lock the first checkpoint, and run through the checklist before you export.